Postman Quickstart
What is Postman?
Postman is an API platform for building and using APIs. In this quickstart, we'll use Postman as a convenient API client to visually interact with the Invoicetronic API without needing to write any code.
Before continuing, make sure all the prerequisites below are met.
Prerequisites
- Postman is downloaded and installed on your system.
- You obtained an active API Key.
- You registered with the Italian Revenue Service (needed for the live environment)
Import the OpenAPI specification
Open Postman and log in with your user account if needed. With recent versions of Postman, creating a free user account is required to use the Import feature.
Open the File menu and click on Import... to open the import window.
You can copy and paste the Invoicetronic API OpenAPI specification URL or drag and drop it if you already downloaded it to your system (alternatively, browse it).
Once that's done, Postman will ask you how to import the specification file:
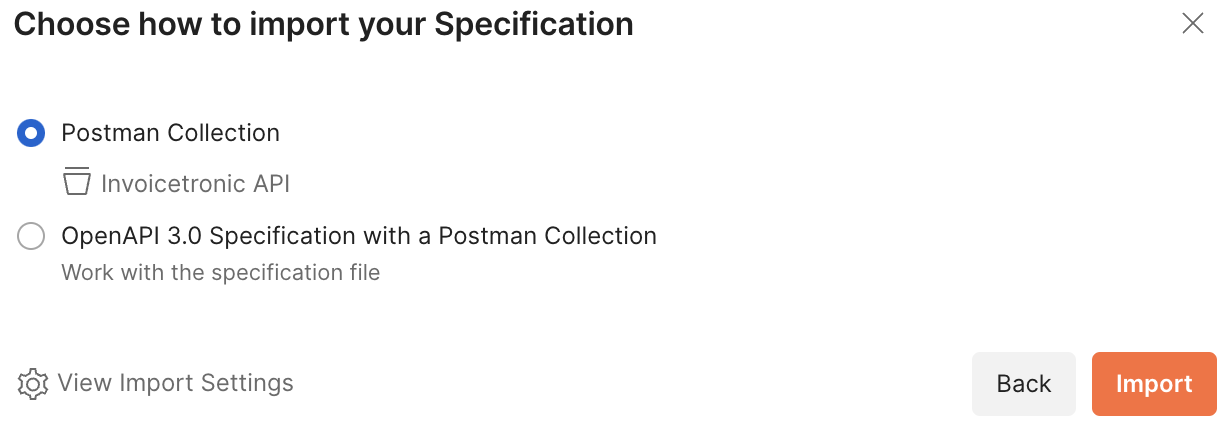
Confirm the default option by pressing the Import button. With that done, you should now see the Invoicetronic API Collection in your Postman workspace. Expand the collection to see all the available endpoints.
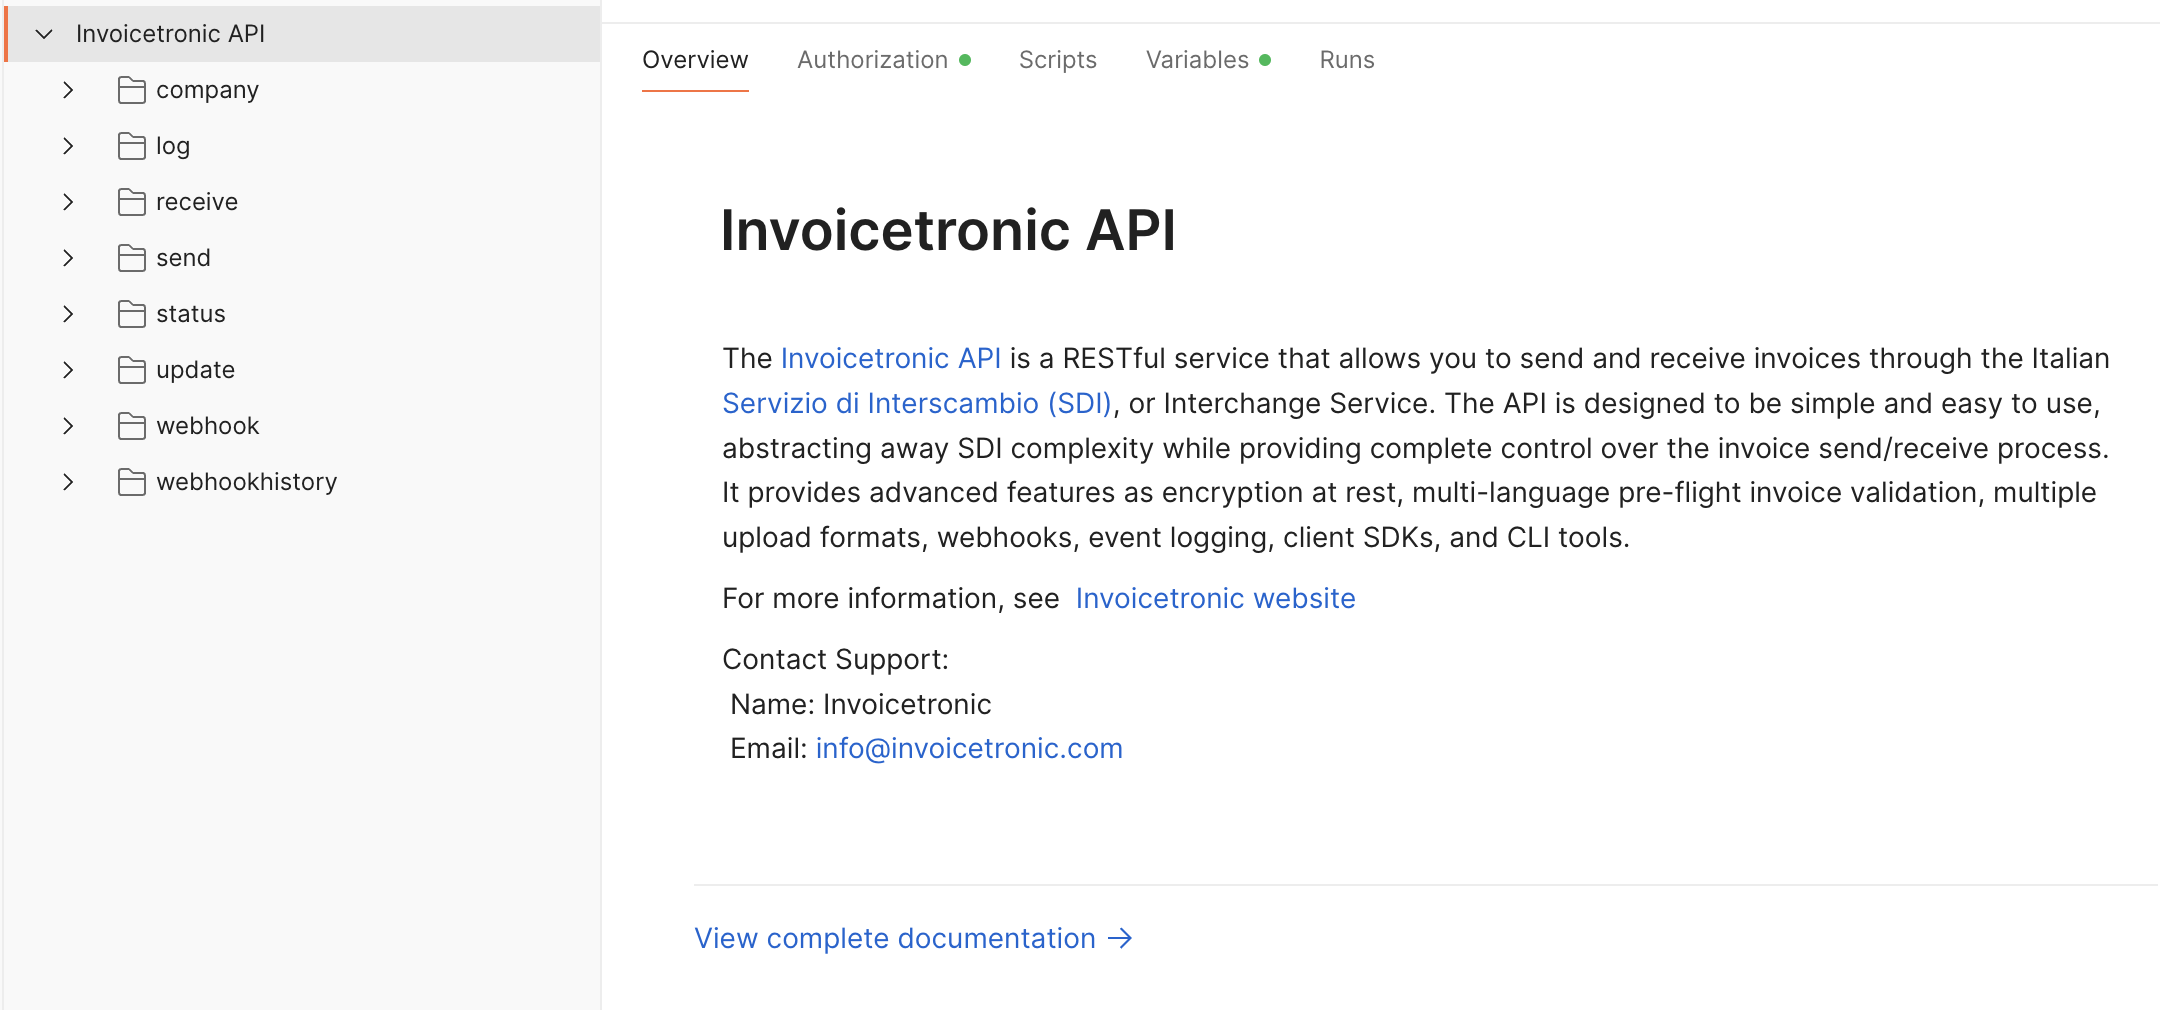
Invoicetronic API as a Postman Collection.
Set your API Key
Click on the Authorization tab. You will find that the Basic Auth scheme is pre-selected, but we want to set our test API Key so we don't have to re-enter it at every request.
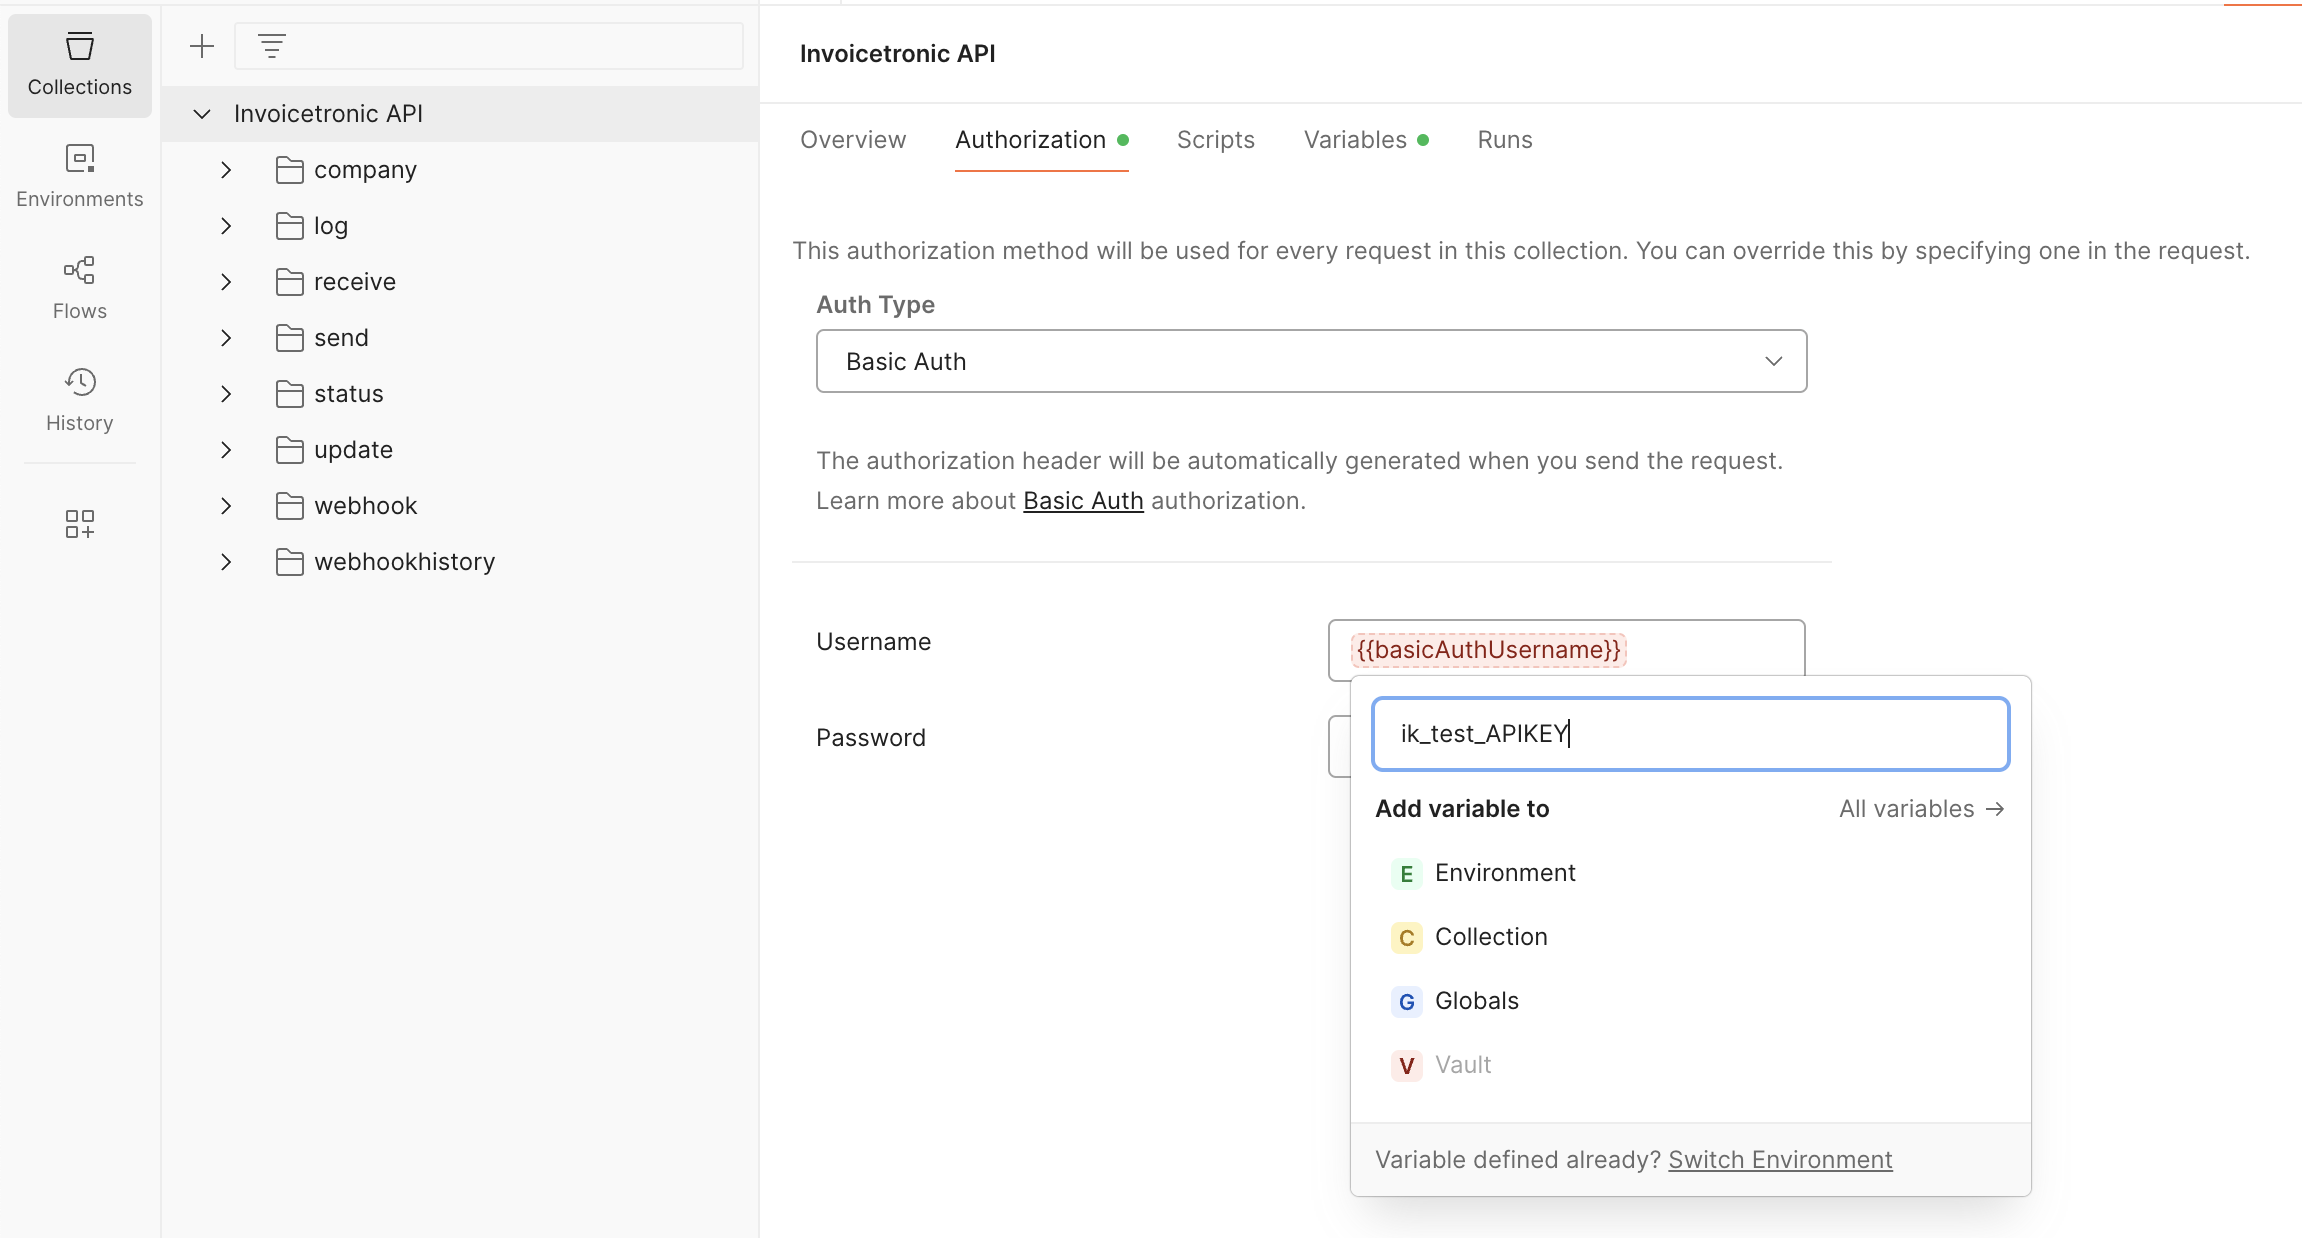
Replace ik_test_MY_API_KEY with your test API Key.
Hover over the Username text box. A dialogue with several options will pop up.
Fill the "enter value" box with your test API Key and click on Collection to set
the Username to the whole Collection scope (you can ignore the Password field).
The variable {{basicAuthUsername}} will turn blue, confirming it has been set.
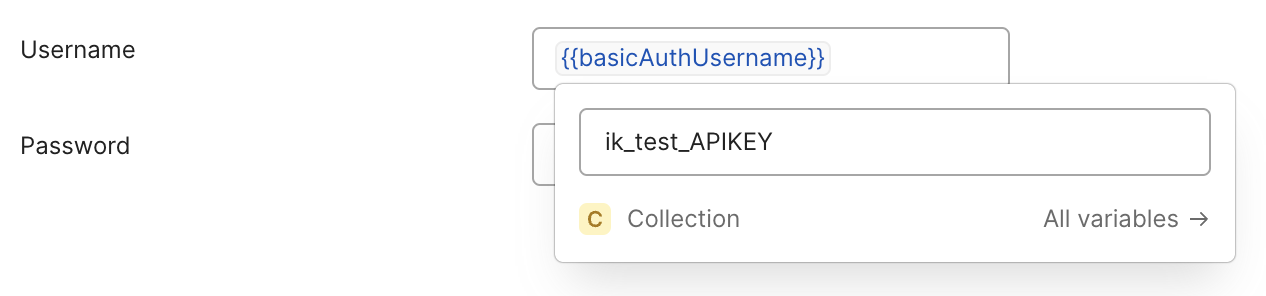
The test API Key has been set for the Collection scope.
Now click on the Variables tab to confirm find that basicAuthUsername is set to your test API Key, and baseUrl is set to the API entry point.
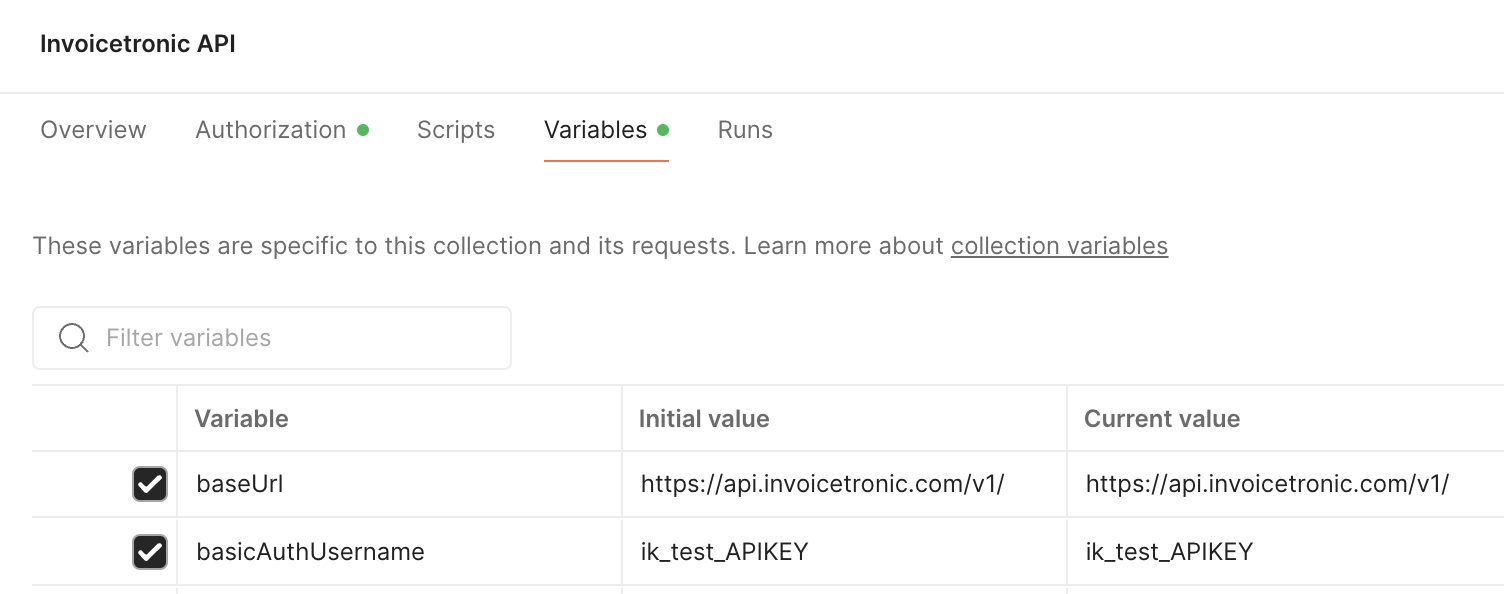
All variables are set and ready to go.
We are now ready to make a request.
Make a request
Expand the receive branch in the Invoicetronic API Collection and select the "List of incoming invoices" endpoint. In the right pane, you have the request URL prefilled and a list of all query parameters.
Payload Inclusion
To retrieve the actual invoice content, make sure to check the include_payload parameter in the query parameters list. Without this parameter, the payload field will be null by default, which increases performance and reduces response size when you only need metadata.
Click the Send button to receive a list of inbound invoices.
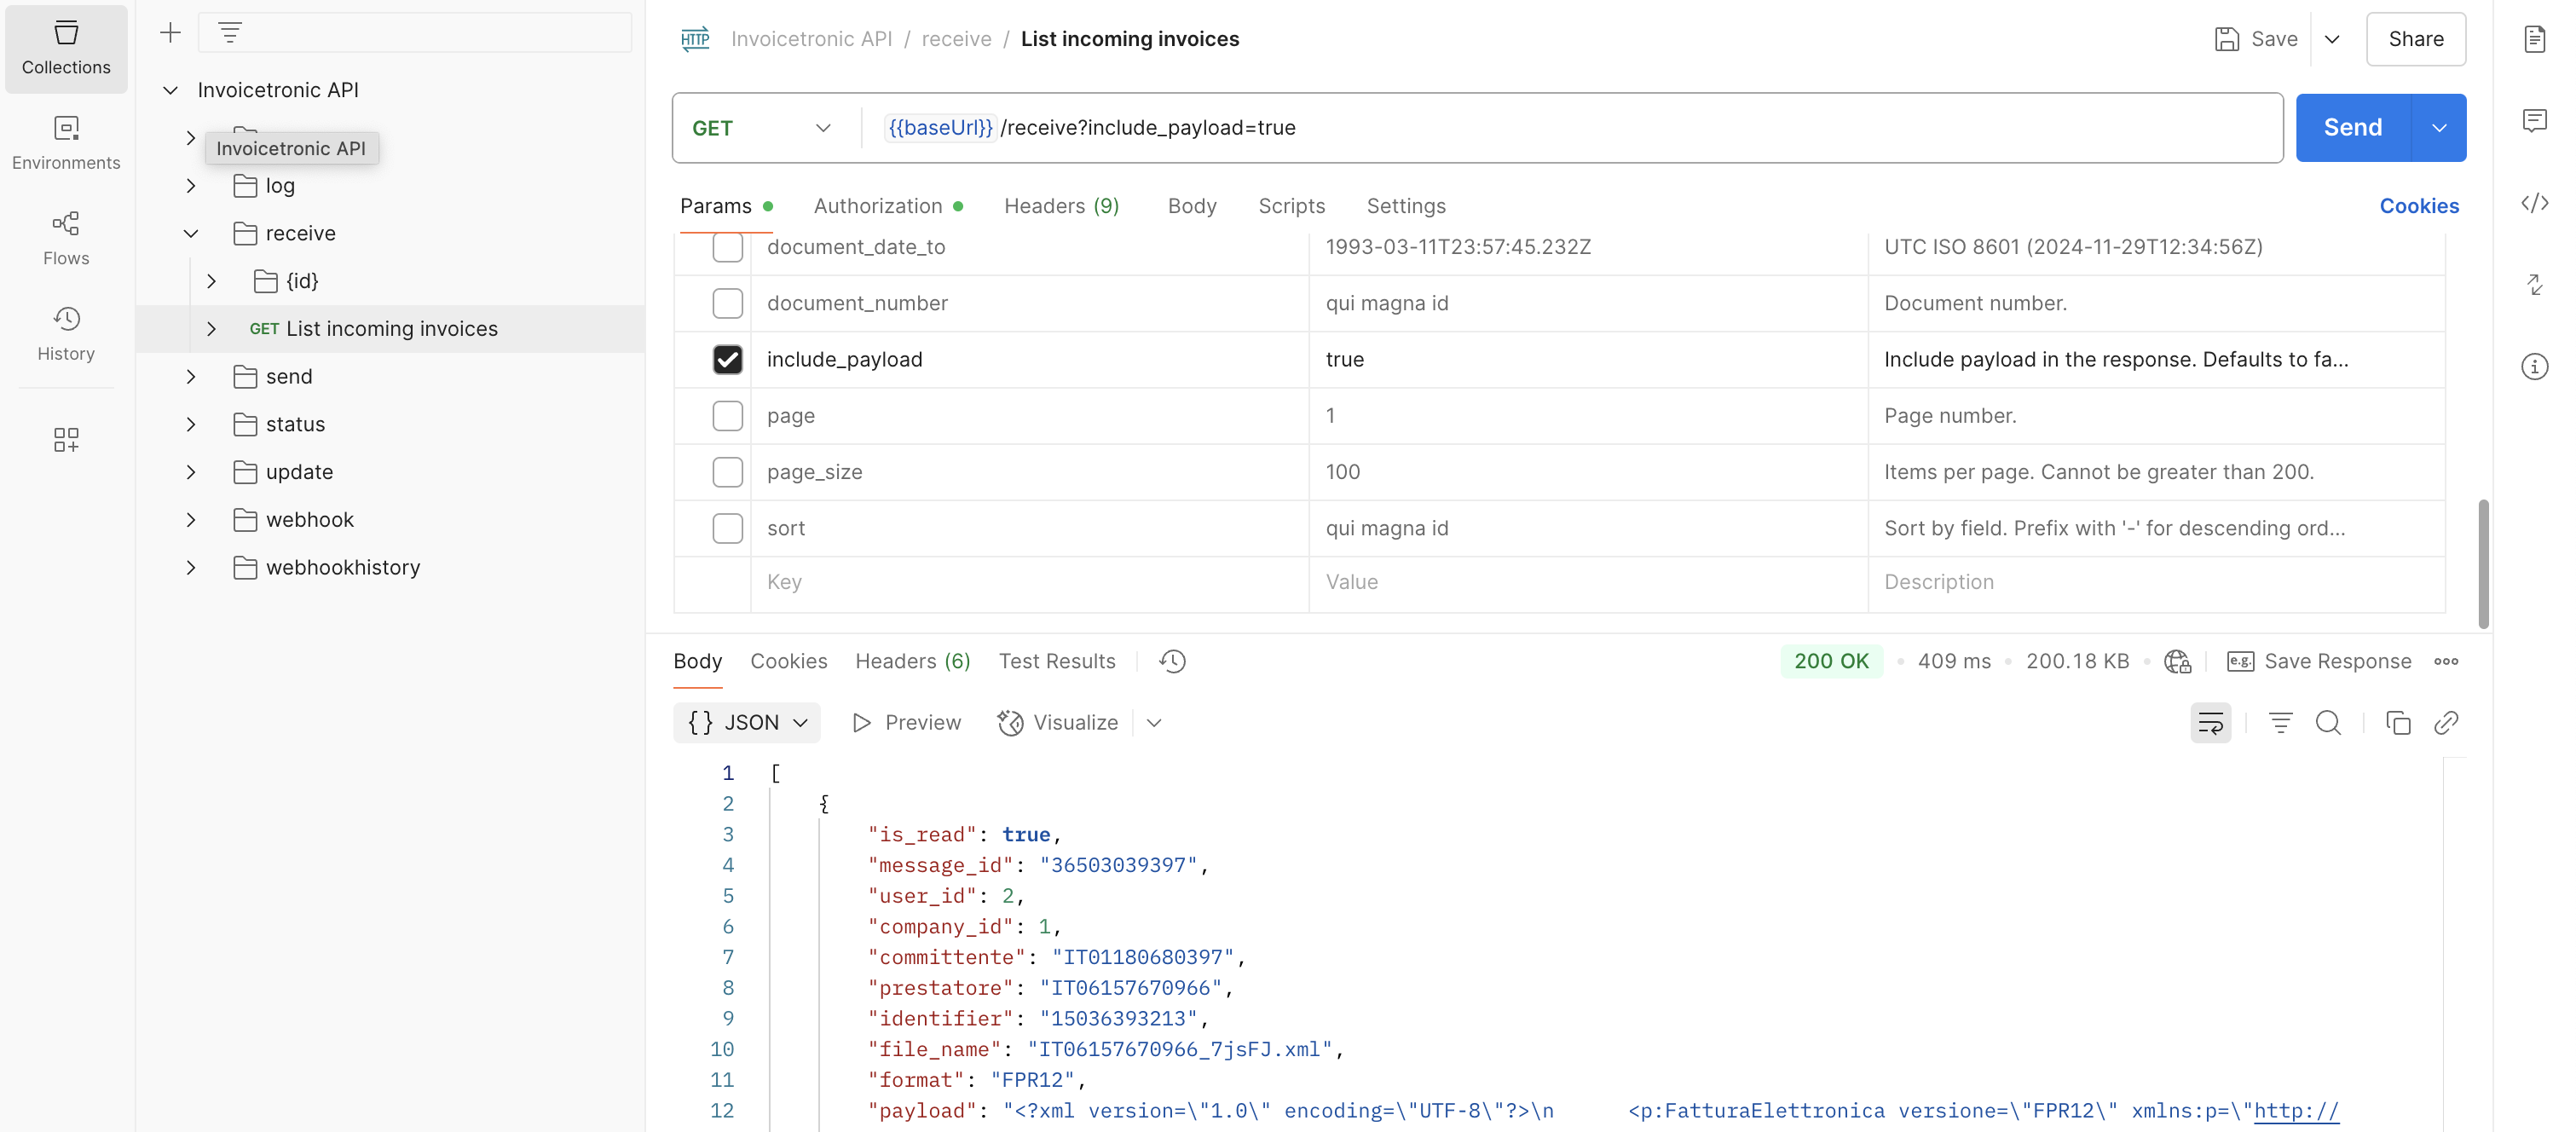
Our first successful request.
Congratulations, you just performed a successful GET request.
Not receiving invoices in the live environment?
Ensure your correspondents use 7HD37X0 as the value of their invoices' Codice Destinatario field. That is how SDI knows they should be forwarded to the Invoicetronic API.
Consulting the notification history
When you send an invoice to the SDI, delivery is not instantaneous: the SDI runs a series of checks and then forwards the document to the recipient, returning a sequence of notifications that describe the state of the process (Inviato, Consegnato, Scartato, etc.). The send resource exposes the latest state via the last_update, date_sent and identifier fields, but if you need to reconstruct the full transition history expand the update branch in the Collection and select the "List of updates" endpoint.
/update queries are free of charge
Requests to /update are not counted against your plan: you can poll the notification history as often as you need.
Among the available query parameters, the most useful ones are:
send_id: limits the notifications to a specific sent invoice (pass theidreturned by the POST on/send).state: filter by state; for exampleScartatoto retrieve only invoices rejected by the SDI.last_update_from/last_update_to: restrict the search to a date range.sort: orders the results.last_updateis the default and what you want for the timeline view.
Click Send to retrieve the history. You will get a JSON response similar to this:
[
  {
    "send_id": 225,
    "identifier": "234234234",
    "state": 2,
    "description": null,
    "last_update": "2025-01-23T16:56:14.111000Z",
    "date_sent": "2025-01-23T16:55:51.491271Z",
    "id": 512
  },
  {
    "send_id": 225,
    "identifier": "234234234",
    "state": 5,
    "description": null,
    "last_update": "2025-01-23T17:12:03.842000Z",
    "date_sent": "2025-01-23T16:55:51.491271Z",
    "id": 537
  }
]
The state field is the most important property. The most common values are:
| Value | Name | Description |
|---|---|---|
| 2 | Inviato |
Sent to the SDI. |
| 5 | Consegnato |
Delivered to the recipient. |
| 7 | Scartato |
Rejected by the SDI. The reason is in description. |
The complete list of values is available in the API Reference.
Always monitor the state of your sent invoices
A state of Inviato only means that the document has been accepted by the SDI, not that it has been delivered. A Scartato state indicates that the invoice was not accepted and may require a correction and a fresh submission.